When I first started using an e-file for gel removal, I made every mistake possible. I used the wrong grit, pressed too hard, and left deep grooves in my natural nails. It took months of careful growth to undo the damage. Then I discovered mini sanding bands—and everything changed. Here is everything I have learned about using them safely and effectively.
What Are Mini Sanding Bands?
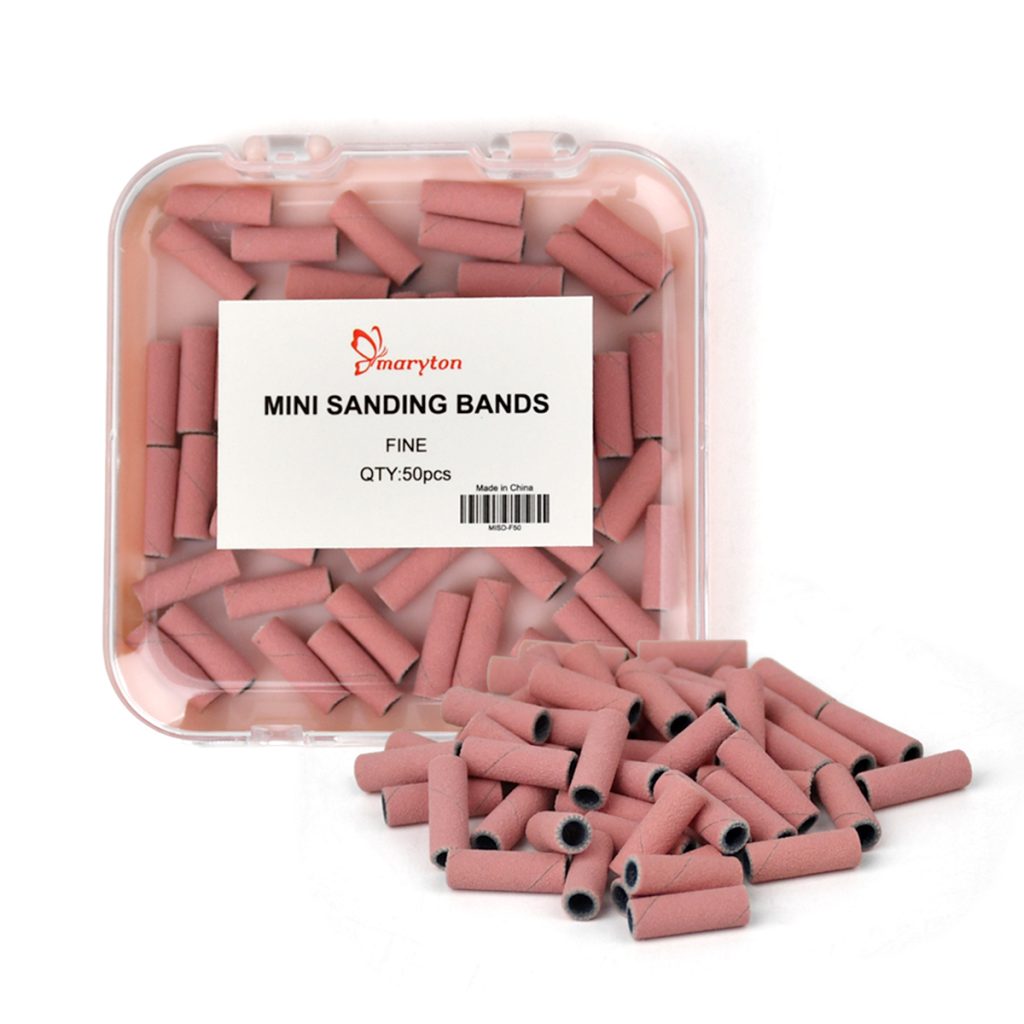
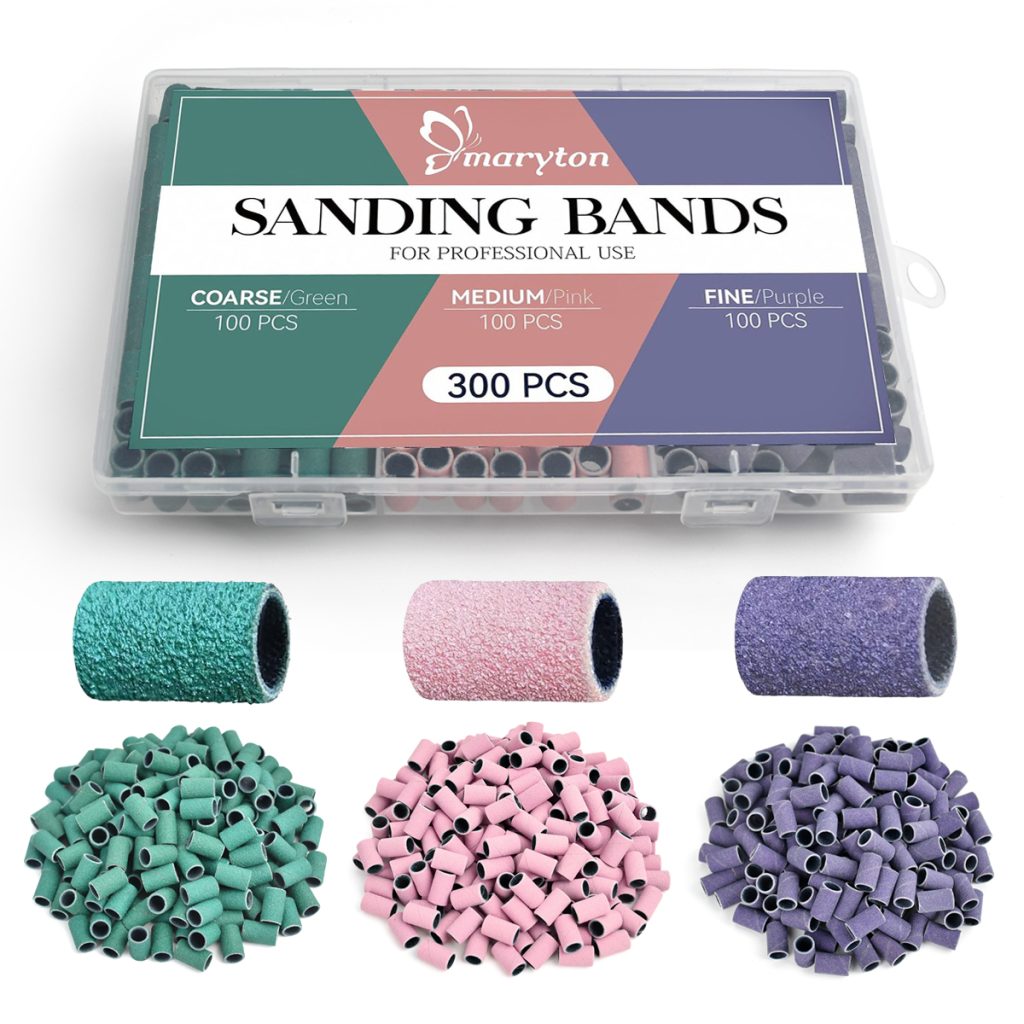
Mini sanding bands are small, cylindrical abrasive sleeves designed to fit onto a mandrel bit on your e-file. Unlike standard sanding bands, which are about 12-13mm wide, mini bands are approximately 8.75mm wide. This smaller size allows for enhanced precision and control, making them perfect for working in tight spaces around the cuticle and sidewalls.
They are disposable, which means you use one band per client and then discard it. This eliminates the risk of cross-contamination entirely and ensures a fresh, sharp abrasive surface every time.
The Benefits of Using Mini Sanding Bands for Gel Removal
The smaller diameter is the game-changer. It allows you to reach areas that standard bands cannot access—the delicate curve of the cuticle, the tight sidewall corners, and the area just around the nail edge.
Precision and control. The compact size of mini sanding bands allows you to work in tight spaces around the cuticle and sidewalls without touching the skin. This is especially important during gel removal, where you want to remove product only from the nail plate, not the surrounding tissue. Many professionals prefer mini bands for their ability to target specific areas with less risk of accidental cuts.
Gentle on natural nails. When used correctly, mini sanding bands are far gentler than coarse carbide or ceramic bits. They remove gel polish in thin, controlled layers, reducing the risk of over-filing. The abrasive surface is designed to glide over the nail, not dig into it. Because the band is flexible, it conforms to the natural curve of the nail, making it easier to remove product evenly without creating flat spots or grooves.
Heat reduction. Mini sanding bands generate less friction heat than metal bits, making the removal process more comfortable for your client. This is a significant advantage for those with sensitive nails.
Versatility. Mini bands are available in a range of grits, from coarse for bulk removal to fine for finishing. This means you can use them for the entire removal process—from removing the top coat to smoothing the natural nail—without changing tools.
Affordable and disposable. Because they are disposable, you always have a fresh, sharp abrasive surface. No cleaning, no cross-contamination. This also makes them cost-effective—you use one and discard it, rather than investing in expensive metal bits that require maintenance.
Choosing the Right Grit for the Task
Sanding bands are colour-coded by grit, making selection straightforward. But understanding which grit to use for each stage is crucial for safe, effective removal.
Coarse grit (80-100). For heavy-duty removal of bulk gel or acrylic. Use this only on the initial thinning of the product—never on natural nails. If you are new to using an e-file, stick to medium and fine grits until you have mastered control.
Medium grit (120-150). The workhorse of gel removal. Use this for thinning the gel after the initial filing, and for removing the colour coats. Medium grit removes product efficiently without being too aggressive.
Fine grit (180-240). For the final passes close to the natural nail. Fine grit removes the remaining thin layer of gel and smooths the surface. This is the safest choice for work near the cuticle and sidewalls. If you are a beginner, start with fine grit and only move to medium once you have mastered control.
Extra fine grit (240+). For buffing and finishing. Use this to smooth the natural nail after all gel is removed, or for gentle surface prep before a new application.
Techniques for Safe and Effective Use
Proper technique is just as important as choosing the right grit.
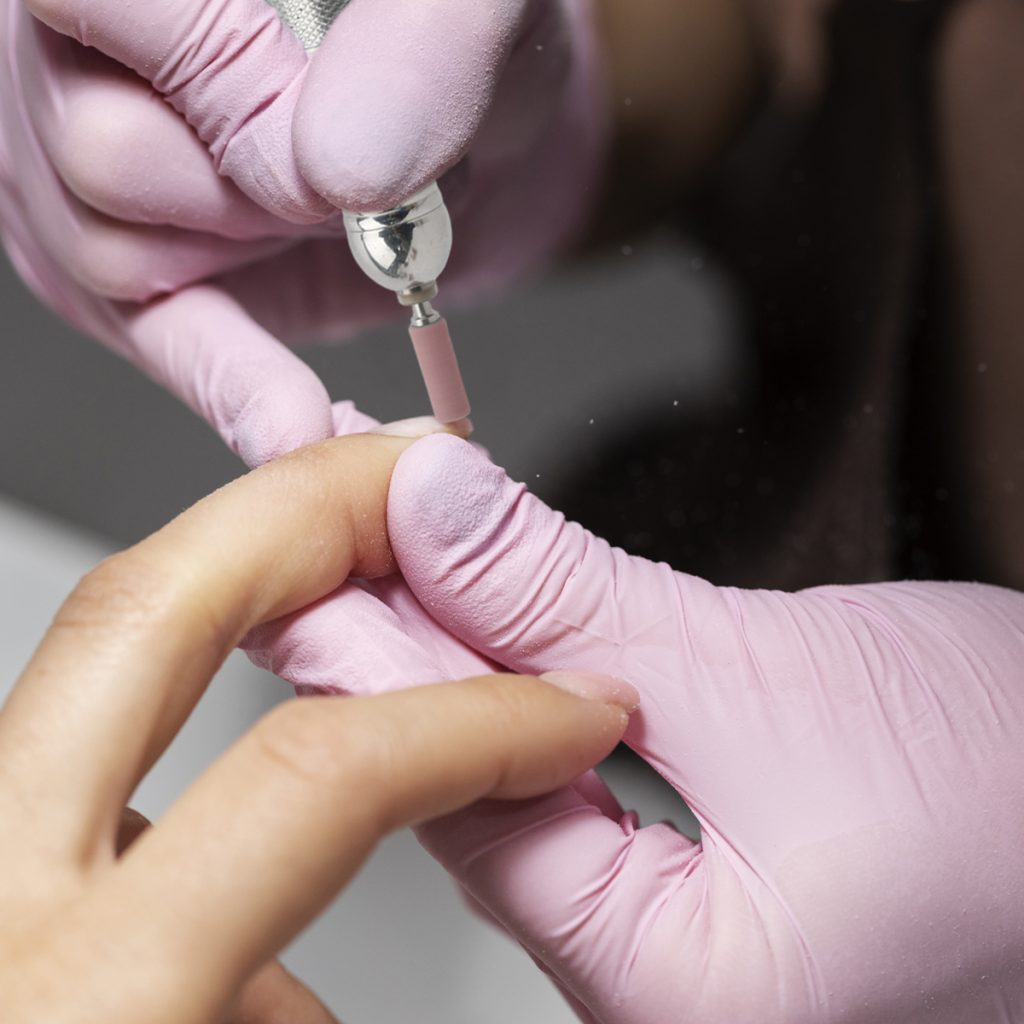
1. Keep the band flat against the nail surface. Holding the band at an angle creates the risk of gouging the nail plate. The band should be parallel to the nail surface to ensure even removal.
2. Use light pressure. Let the band do the work. Pressing down creates friction, heat, and can thin the nail plate. A gentle, feather-light touch is all that is needed.
3. Keep the band moving. Never hold the band in one spot for more than a second. Constant motion prevents heat buildup and ensures even removal. Think of it as gliding across the nail, not digging in.
4. Match the speed to the task. For natural nail work, keep the e-file speed low (around 5,000-8,000 RPM). For product removal, you can increase speed, but always start low and work up. If the band starts to skip or jump, your speed is too high.
5. Work in short, overlapping strokes. This gives you better control and prevents over-filing in any one area. Cover the entire nail surface, including the edges, in smooth, continuous passes.
6. Check your progress frequently. Stop and brush away dust to see how much product remains. This is especially important as you approach the natural nail. The moment you see a change in colour or texture—stop. You have reached the protective base layer.
7. Always end with a fine or extra fine band. After the bulk of the gel is removed, switch to a fine or extra fine band for the final smoothing. This leaves the natural nail surface smooth, even, and ready for a new application.
Common Mistakes to Avoid
Using too coarse a grit on natural nails. This is the number one mistake. Coarse bands are designed for product, not for the natural nail plate.
Pressing down too hard. This generates heat and removes too much material. Light pressure is always more effective.
Stopping in one spot. This creates heat, friction, and can burn the nail bed. Keep the band moving constantly.
Not replacing the band frequently enough. Bands wear out. When a band becomes smooth, it stops working efficiently and can cause heat. Replace after each client, or sooner if it loses its abrasiveness.
Using the wrong speed. High speed with a fine grit can still cause heat. Match speed to the grit and the task.
Forgetting to clean up. Dust accumulates and can clog the band. Regularly brush away dust to maintain effectiveness.
Aftercare: Restoring Your Nails After Removal
Once the gel is removed and the natural nail is exposed, proper aftercare is essential.
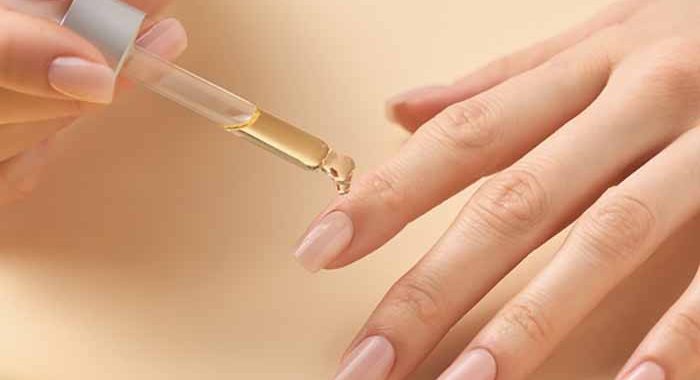
Apply cuticle oil immediately. Acetone and filing dehydrate the nail plate. A generous application of cuticle oil restores moisture and flexibility. Massage it into the nail and surrounding skin.
Use a rich hand cream. Follow with a thick hand cream to seal in the hydration. This is especially important after a long removal session.
Give your nails a break. If possible, wait 24-48 hours before applying a new gel set. This allows the nail plate to rehydrate fully and prevents cumulative damage from continuous filing and acetone exposure.
Keep nails short. Freshly exposed nails are more prone to breaking. Keep them trimmed while they recover.
Apply a nail strengthener if needed. If your nails feel thin or weak, use a keratin-based strengthener for a week to add temporary support.
The Bottom Line
Mini sanding bands are one of the most versatile tools in any nail professional’s kit. They combine precision, safety, and efficiency in a way that larger bands or metal bits simply cannot match. By choosing the right grit, using proper technique, and following a consistent aftercare routine, you can remove gel polish safely, protect your natural nails, and prepare them for their next beautiful design.